
Harnessing AI for Visual Understanding: A Deep Dive into Azure Computer Vision
Empower Your Image Analysis: Exploring Azure Computer Vision API with Python for Advanced Visual Insights

Unlock the Boundless Potential of Azure Computer Vision API for Image Analysis, Recognition, and Beyond Using Python
In this technical exposé, we embark on a voyage into the heart of advanced image analysis and understanding with the Azure Computer Vision API and Python. With a deep dive into both code examples and the expansive capabilities of Azure's Computer Vision service, we will traverse the landscape of image object detection, optical character recognition (OCR), brand identification, facial analysis, sentiment assessment, and more. Let's embark on this quest of code and cognition, unveiling the latent capabilities of the Azure Computer Vision API
What is Azure Computer Vision
The cloud-based Azure AI Vision API provides developers with access to advanced algorithms for processing images and returning information. By uploading an image or specifying an image URL, Azure AI Vision algorithms can analyze visual content in different ways based on inputs and user choices. Learn more here
Let's Begin
Step 1 - Setting Up Azure Computer Vision
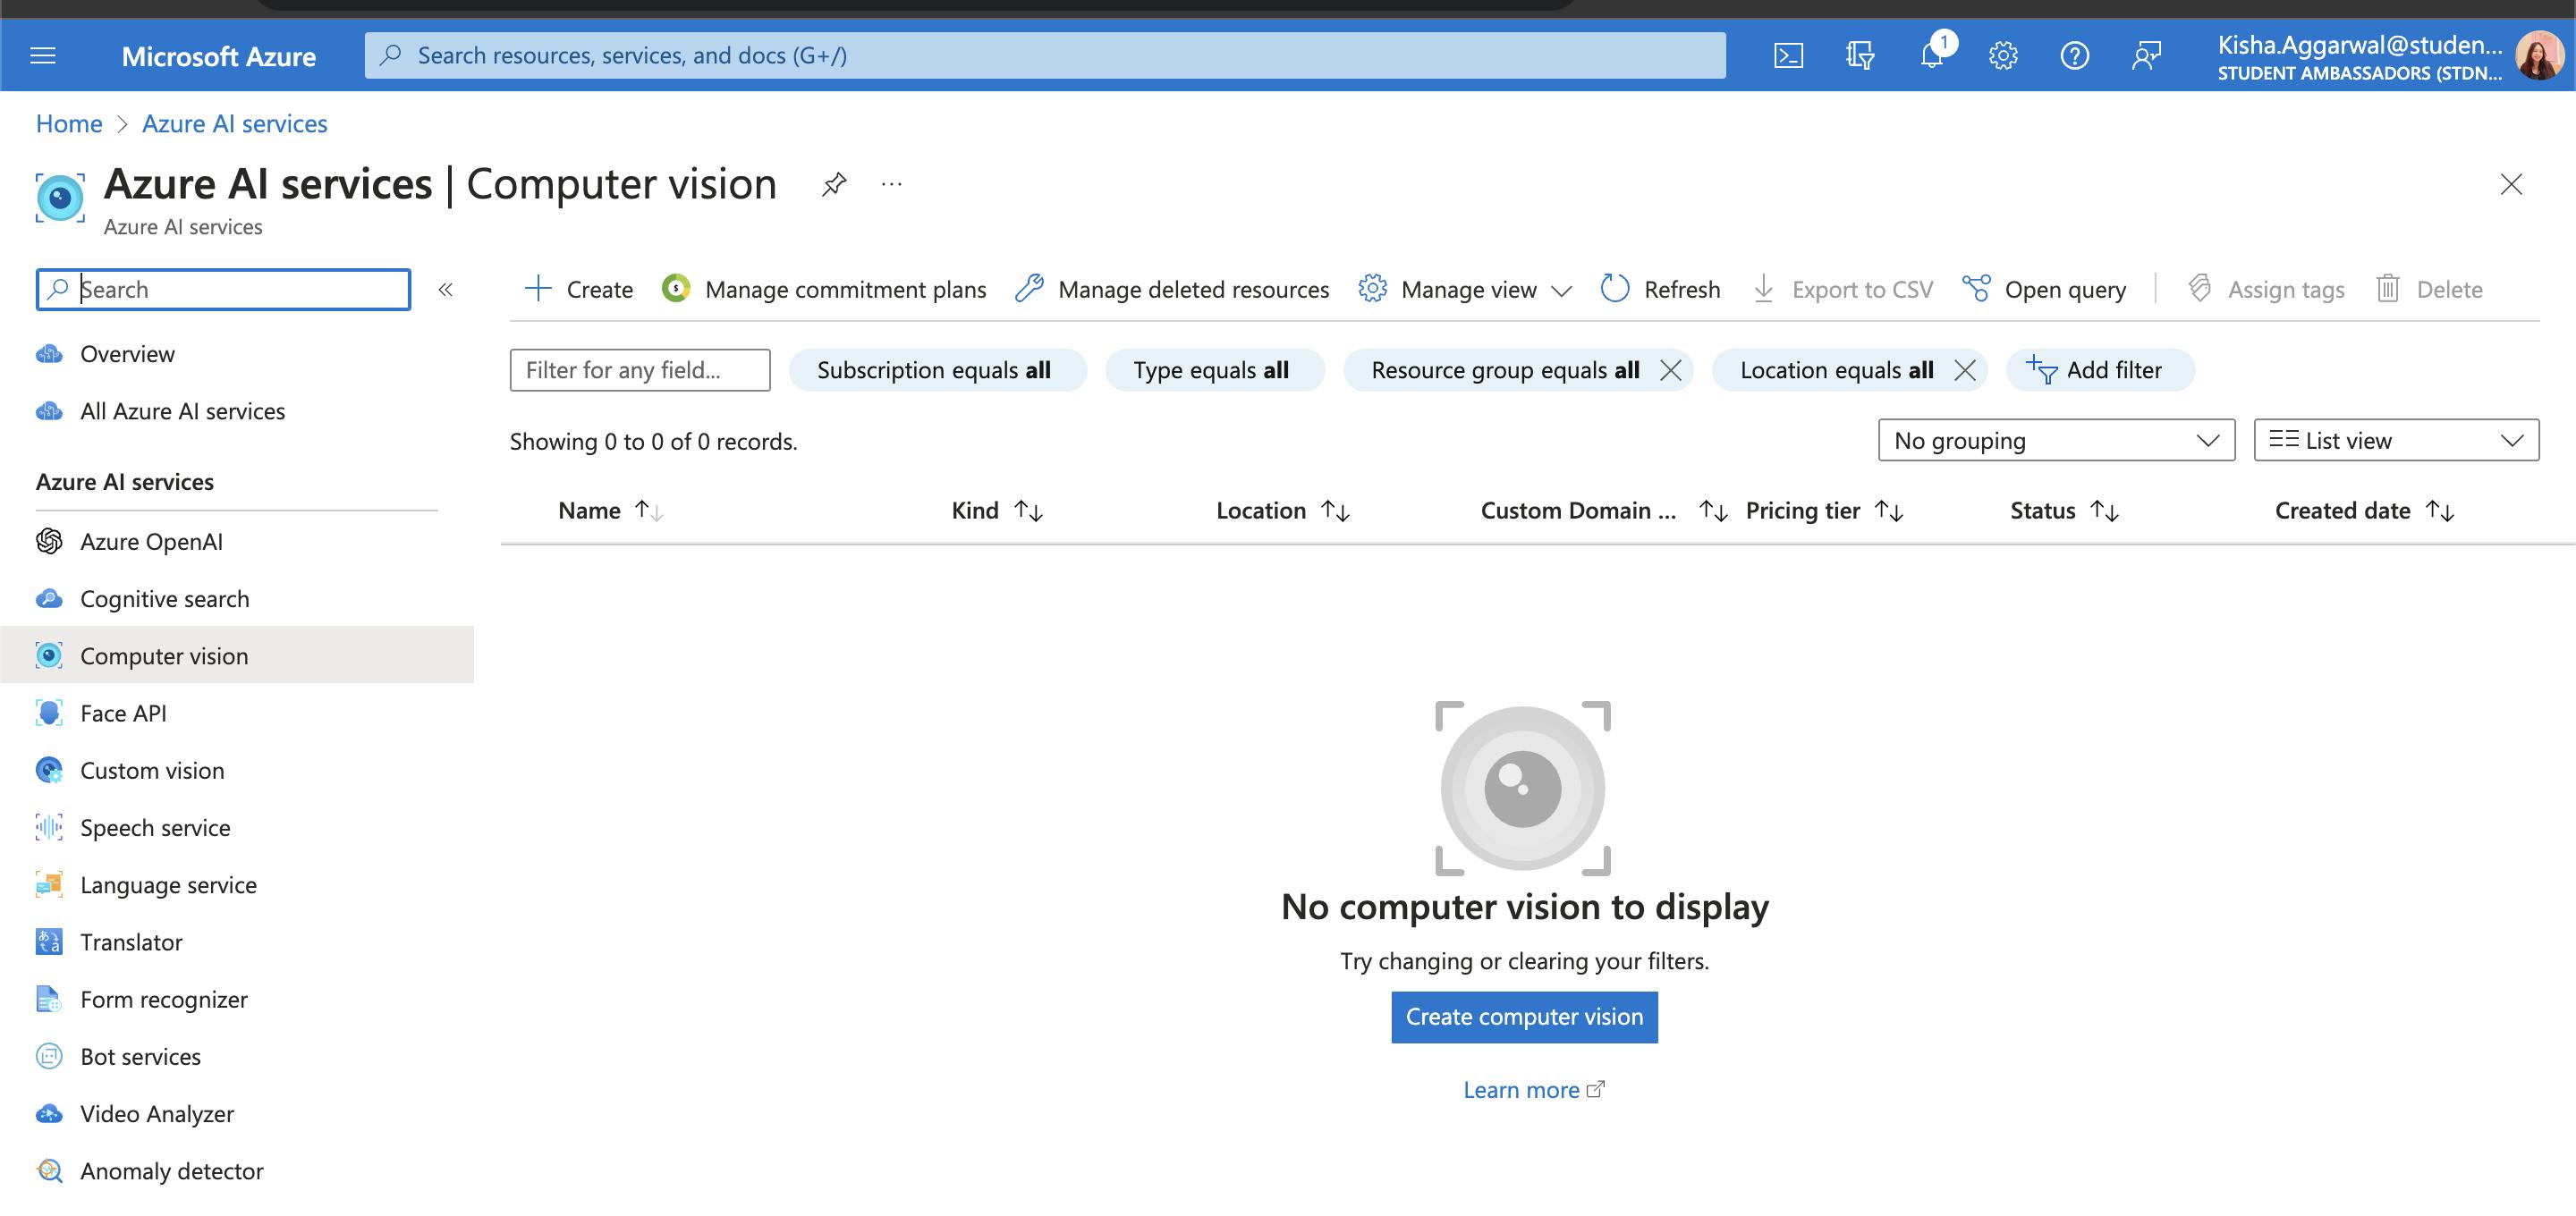
Head on to Azure Portal and login with credentials
Create a New Vision Service, under AI+ Machine Learning Resources
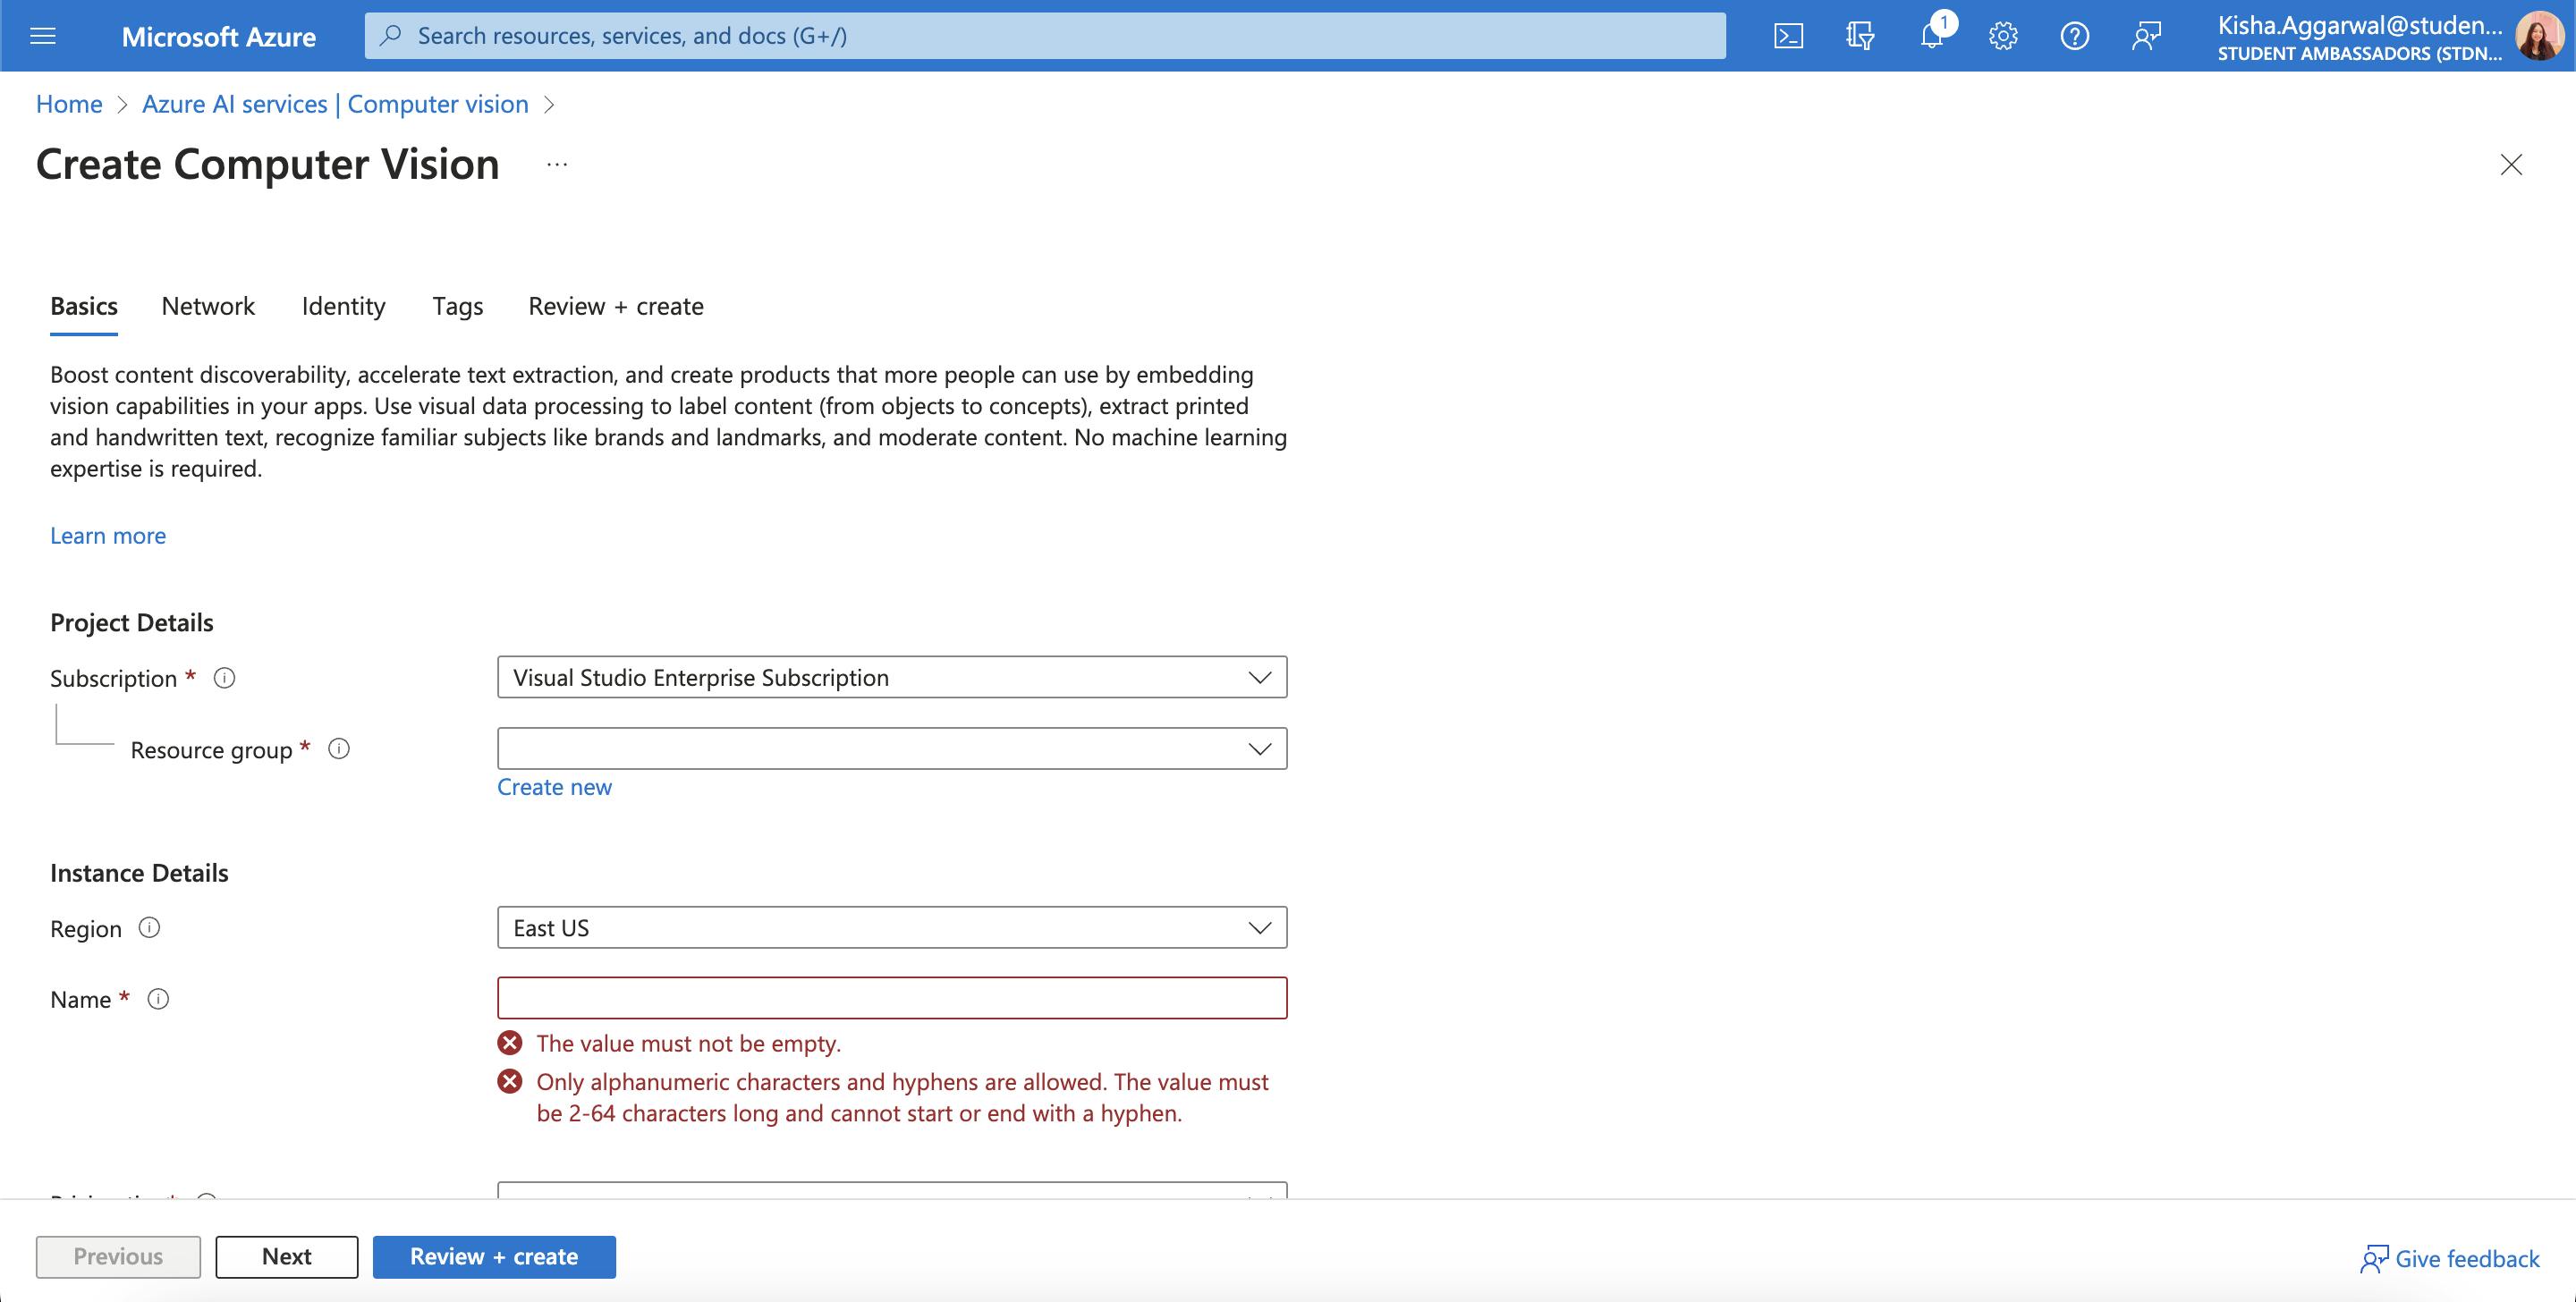
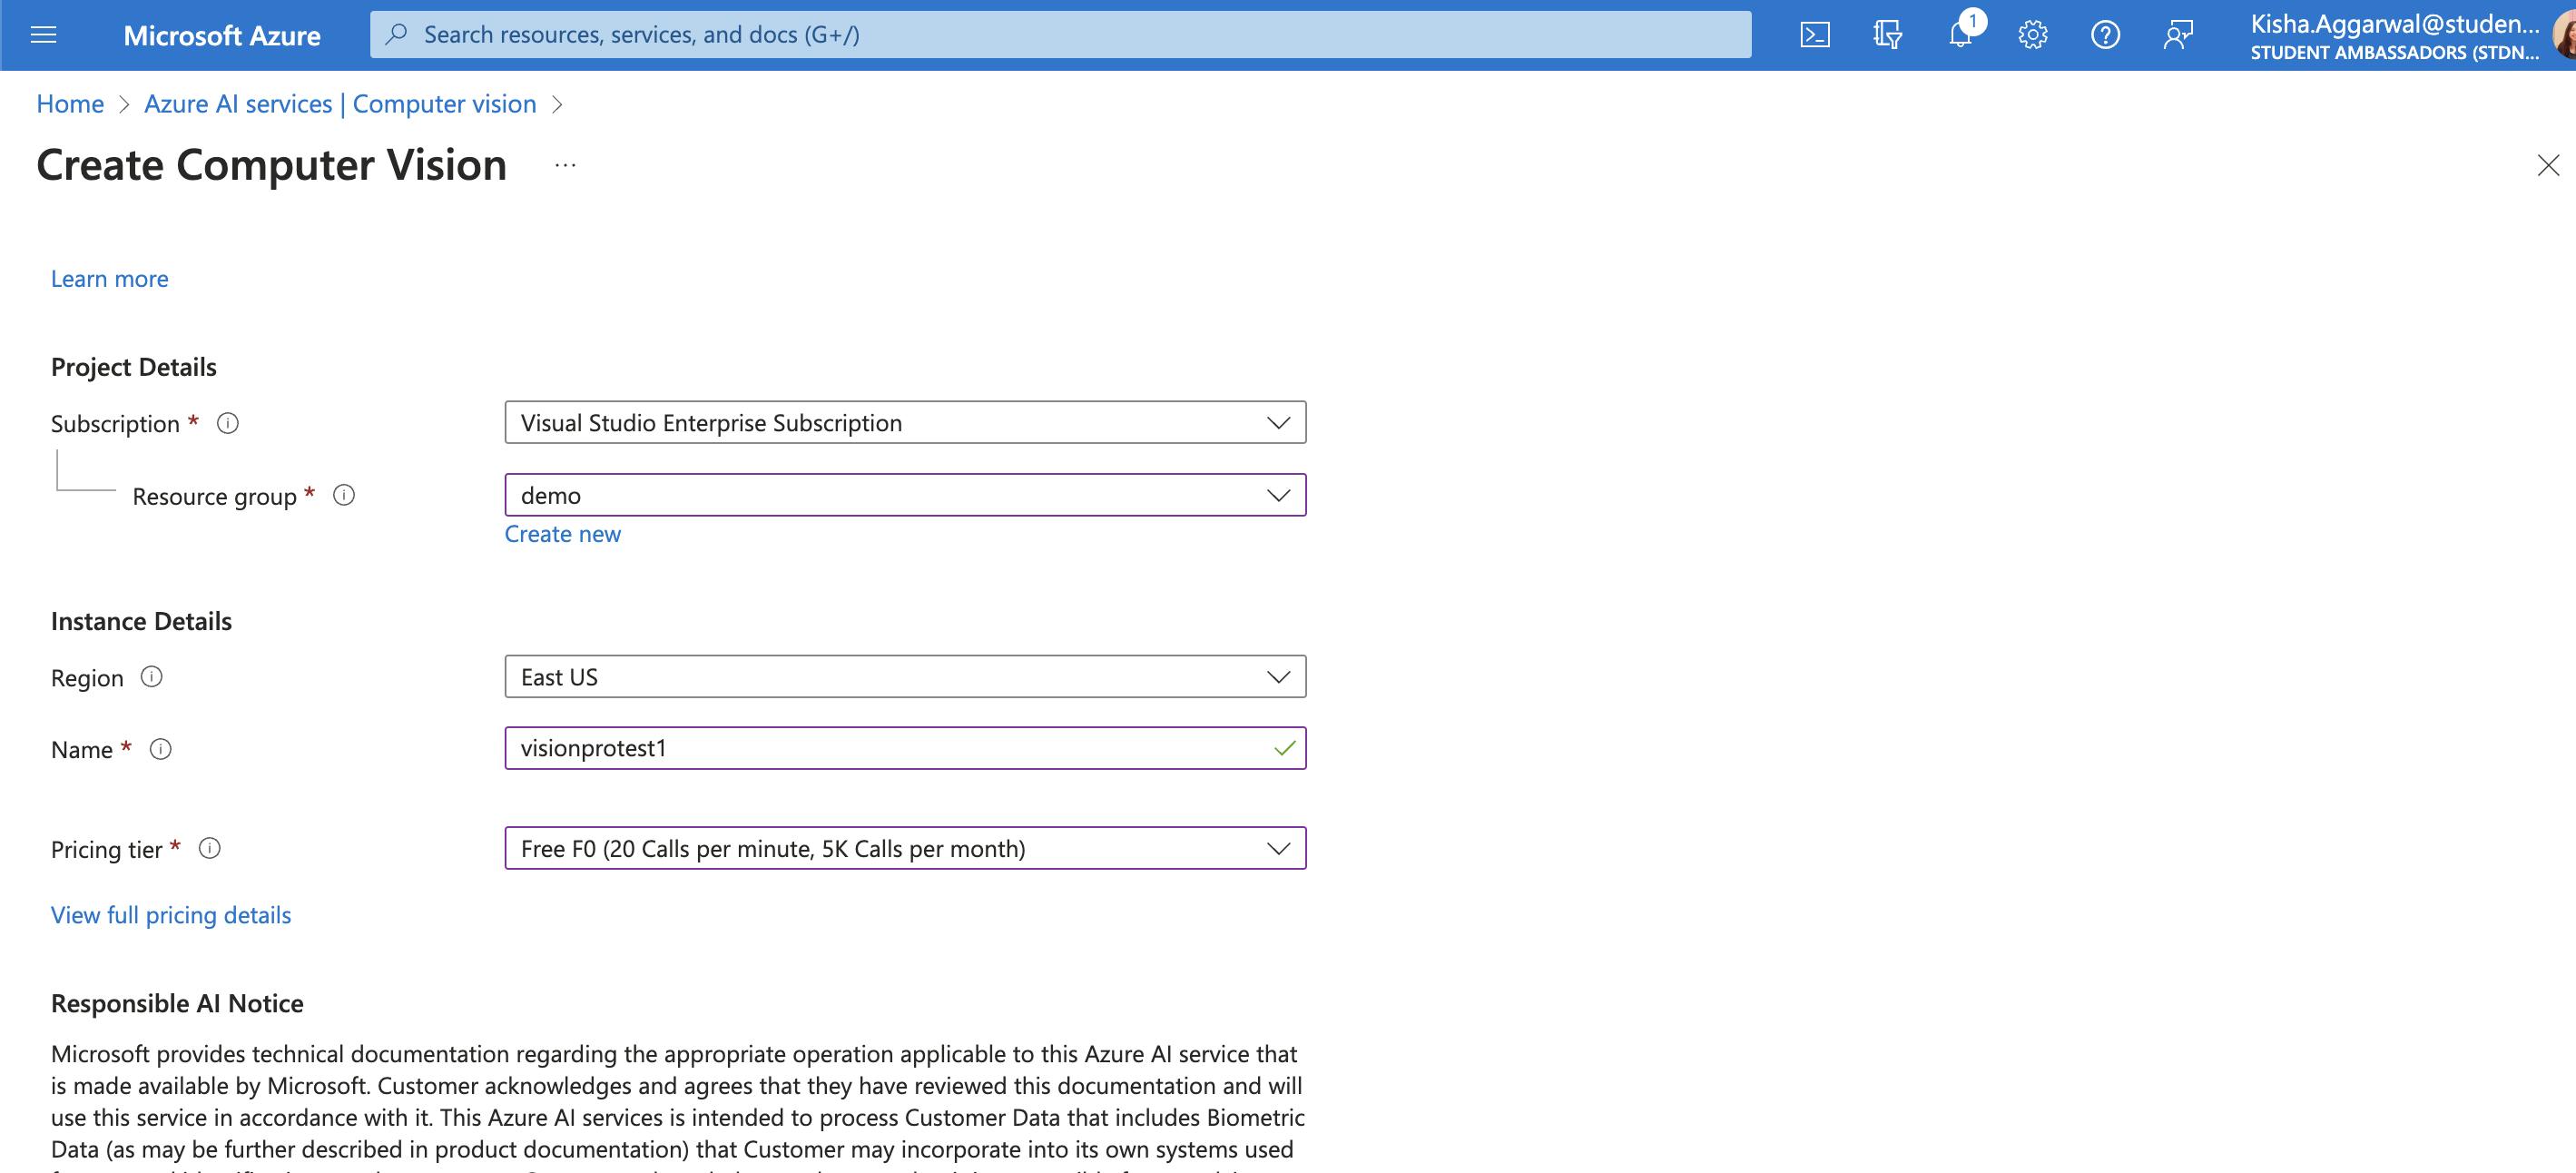
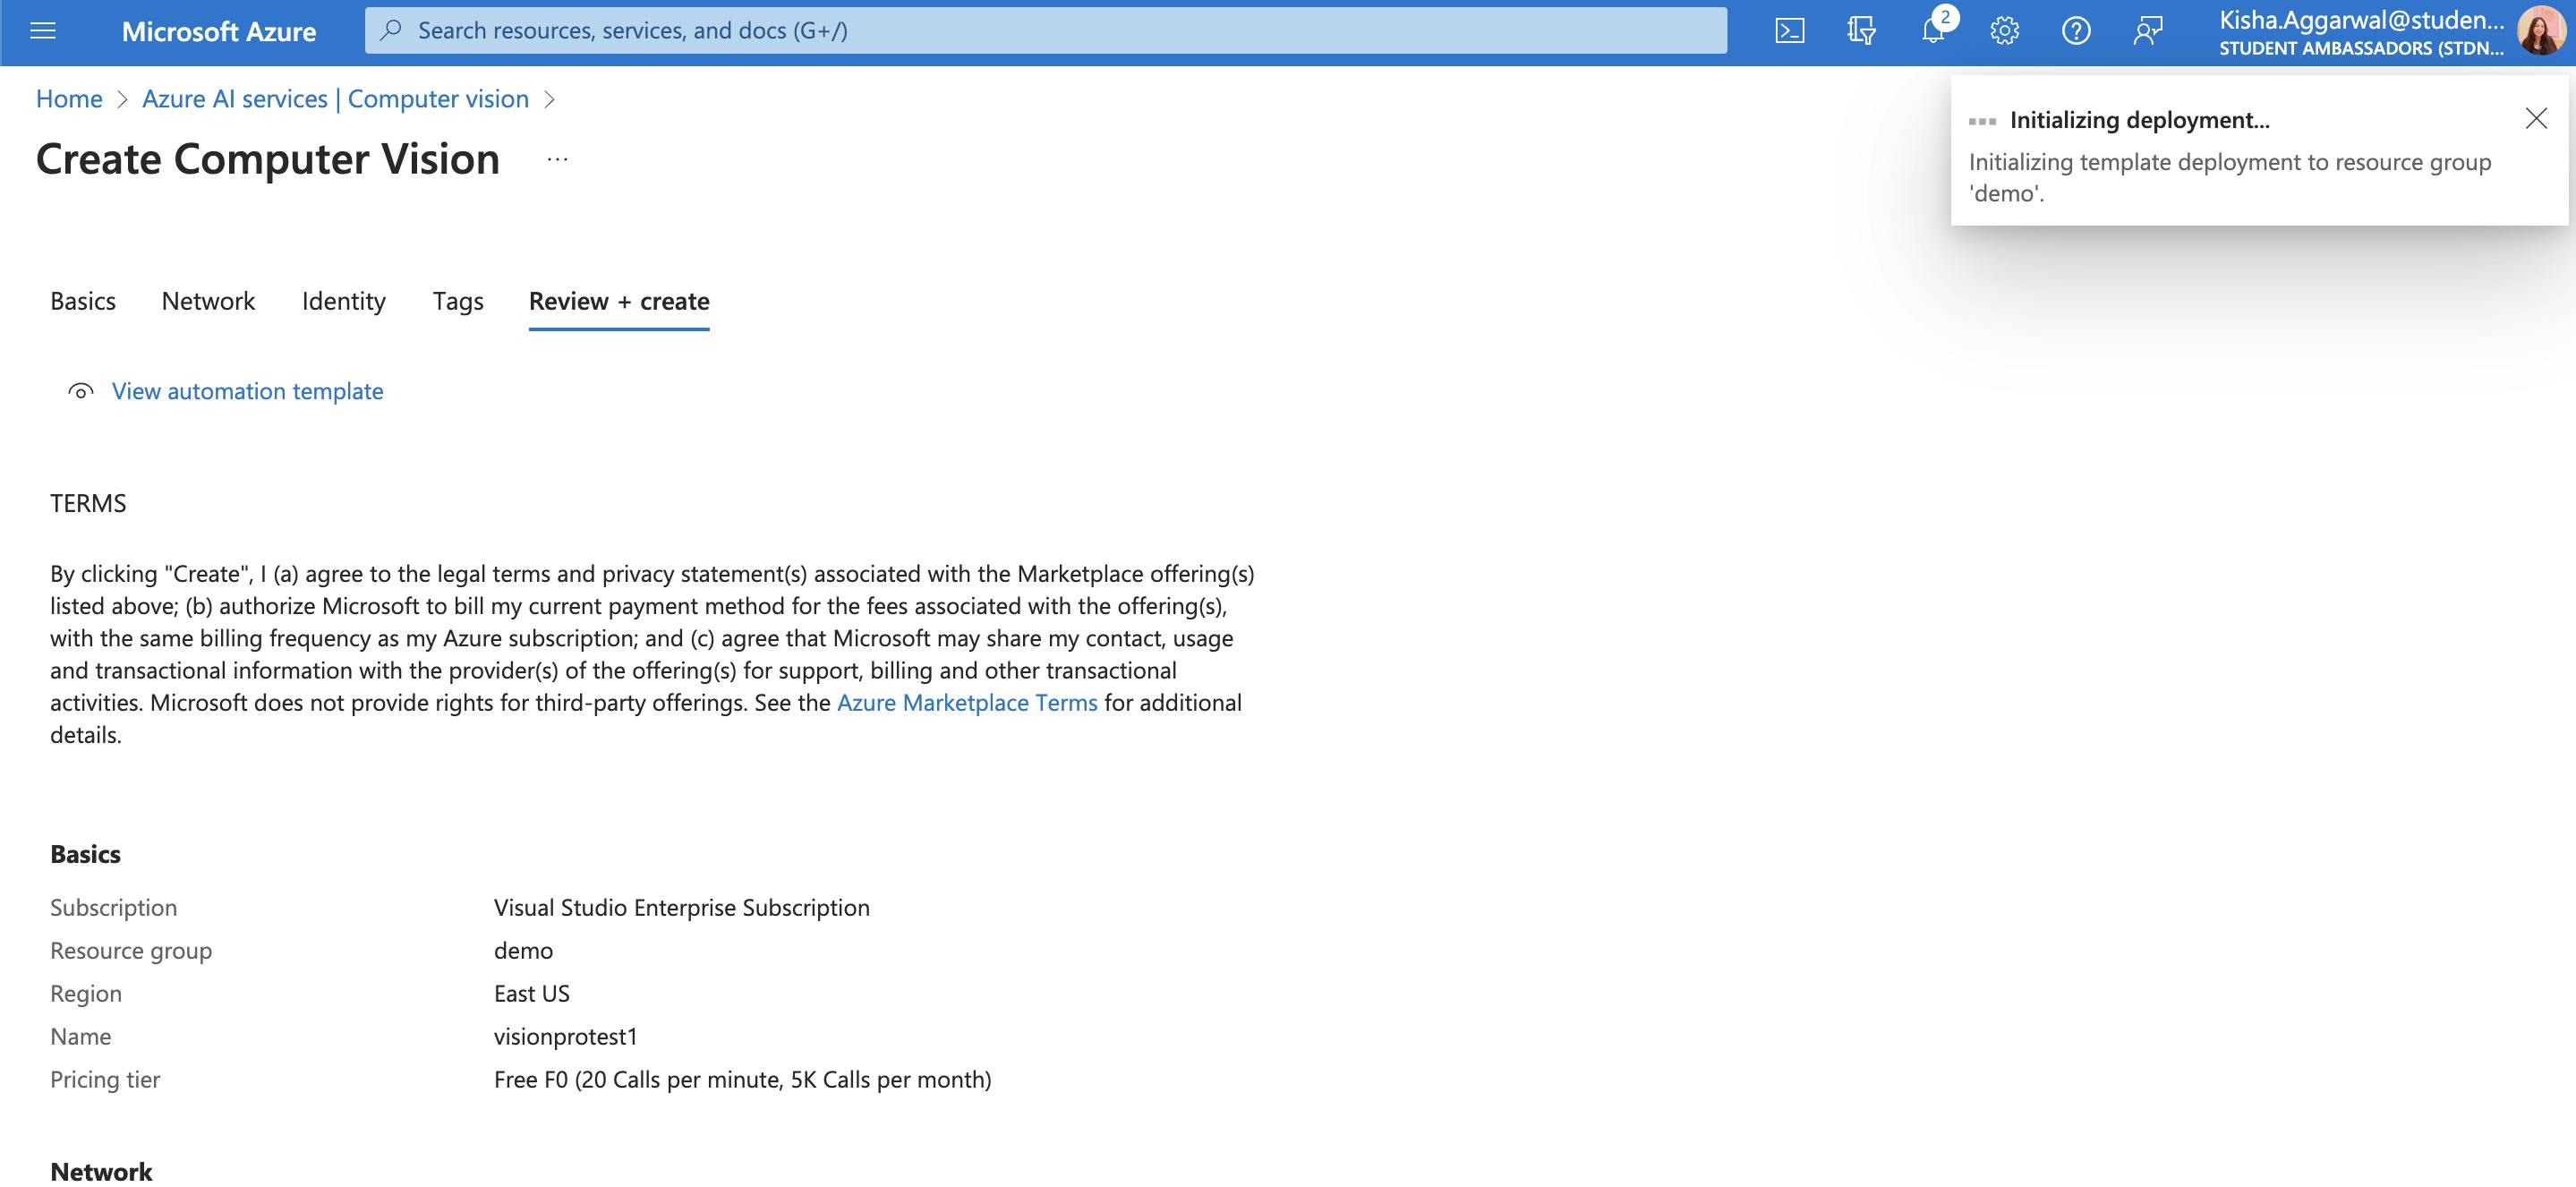
- Continue to Create Resources, add details of Resource Group and pricing Tier, based on usage
- Click Review+ create and Create Resource and wait for deployment
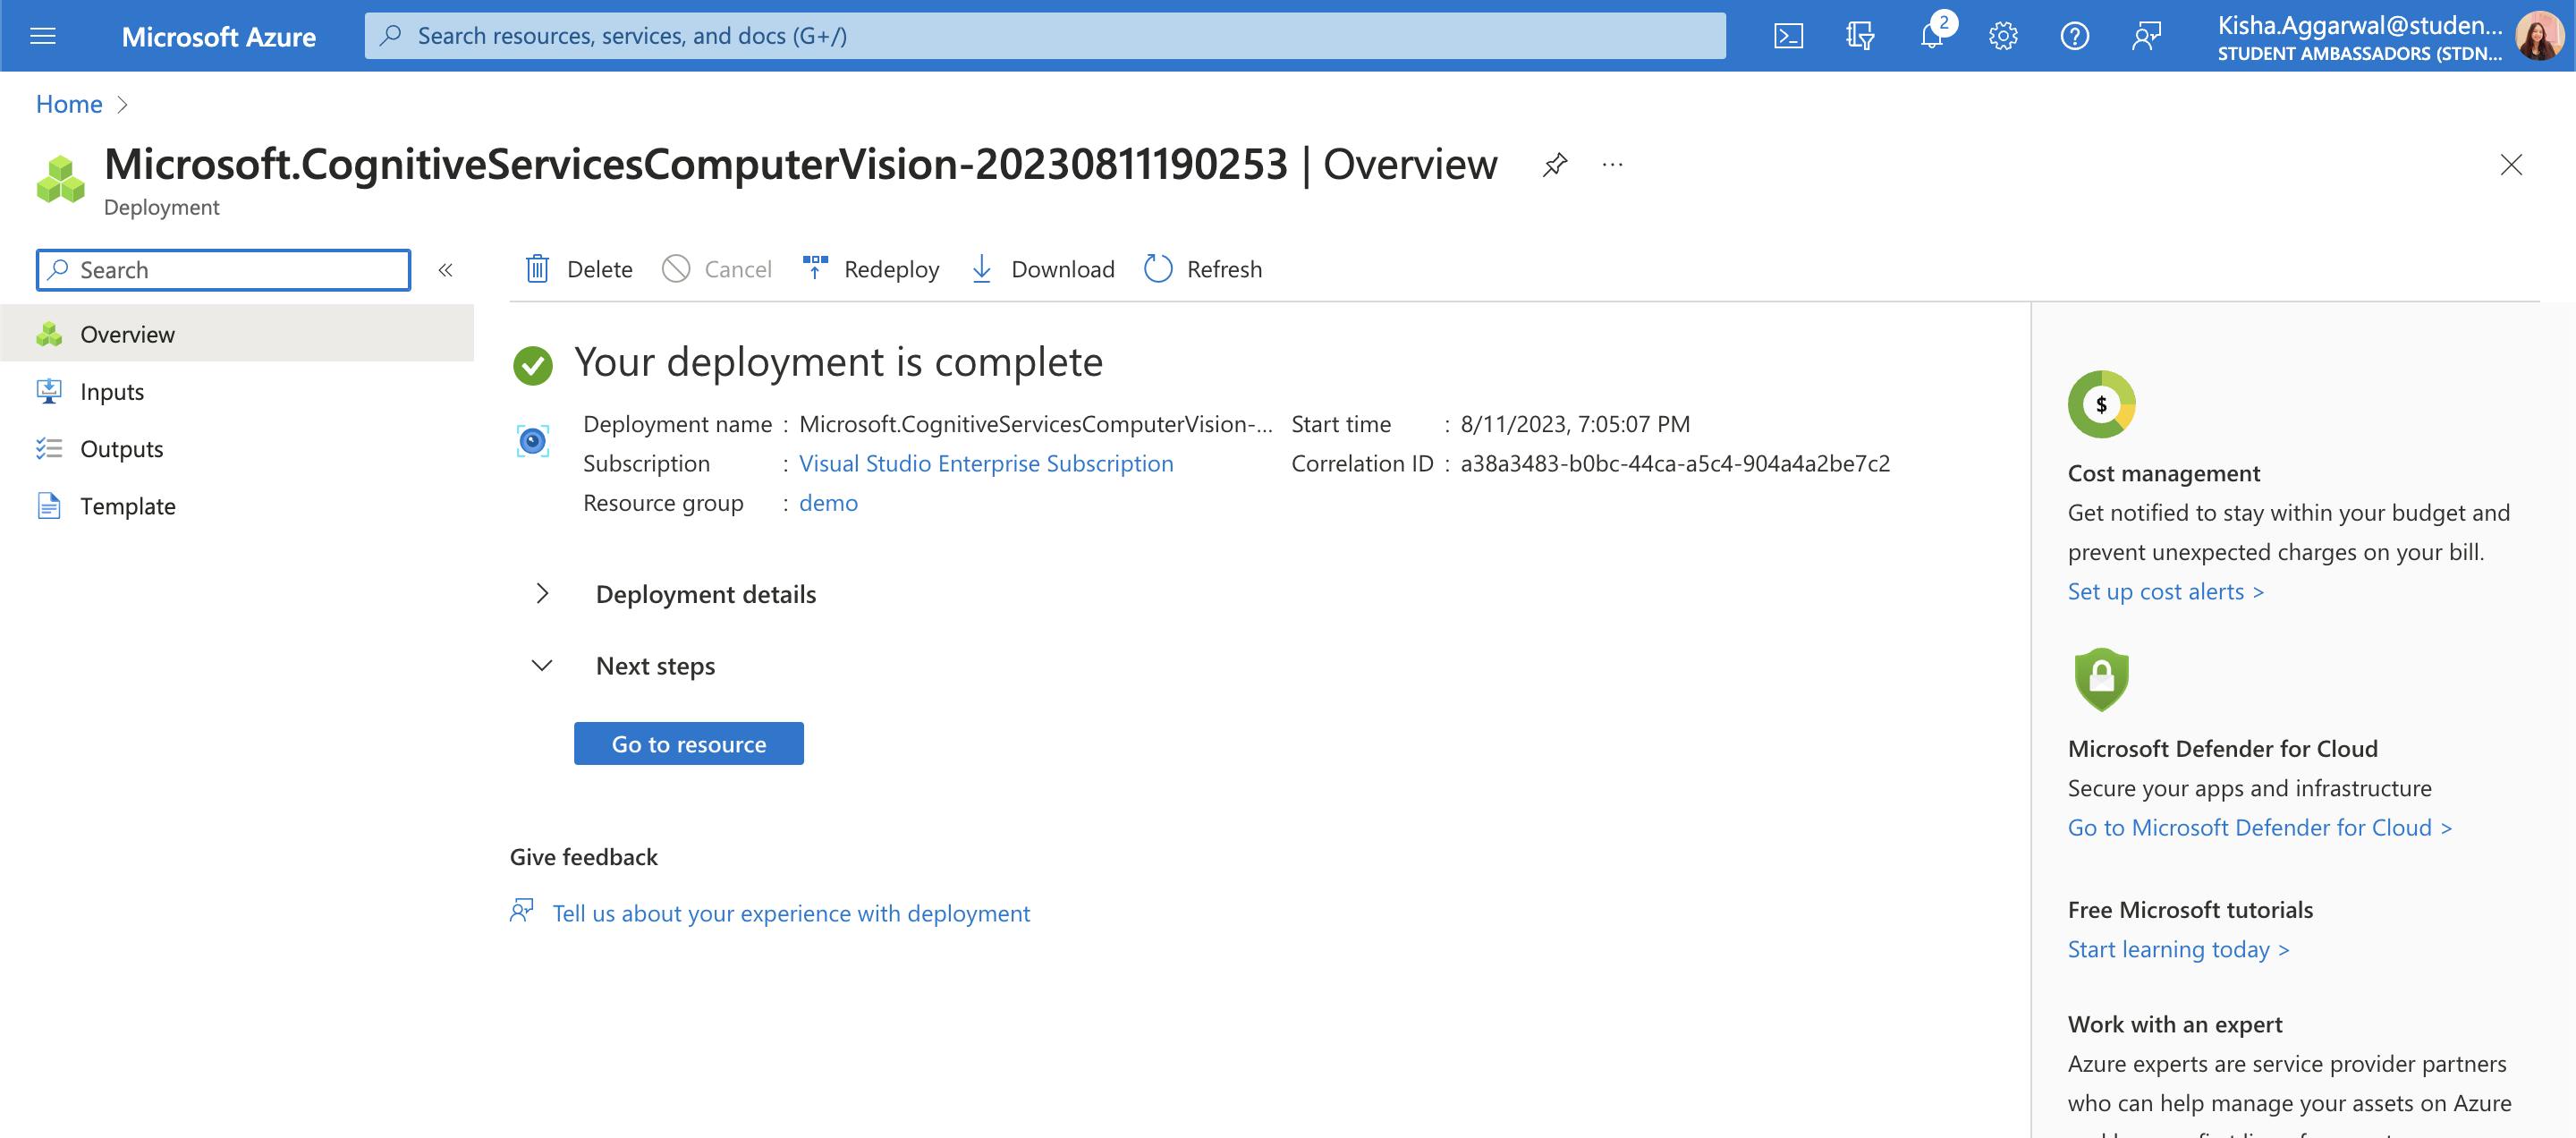
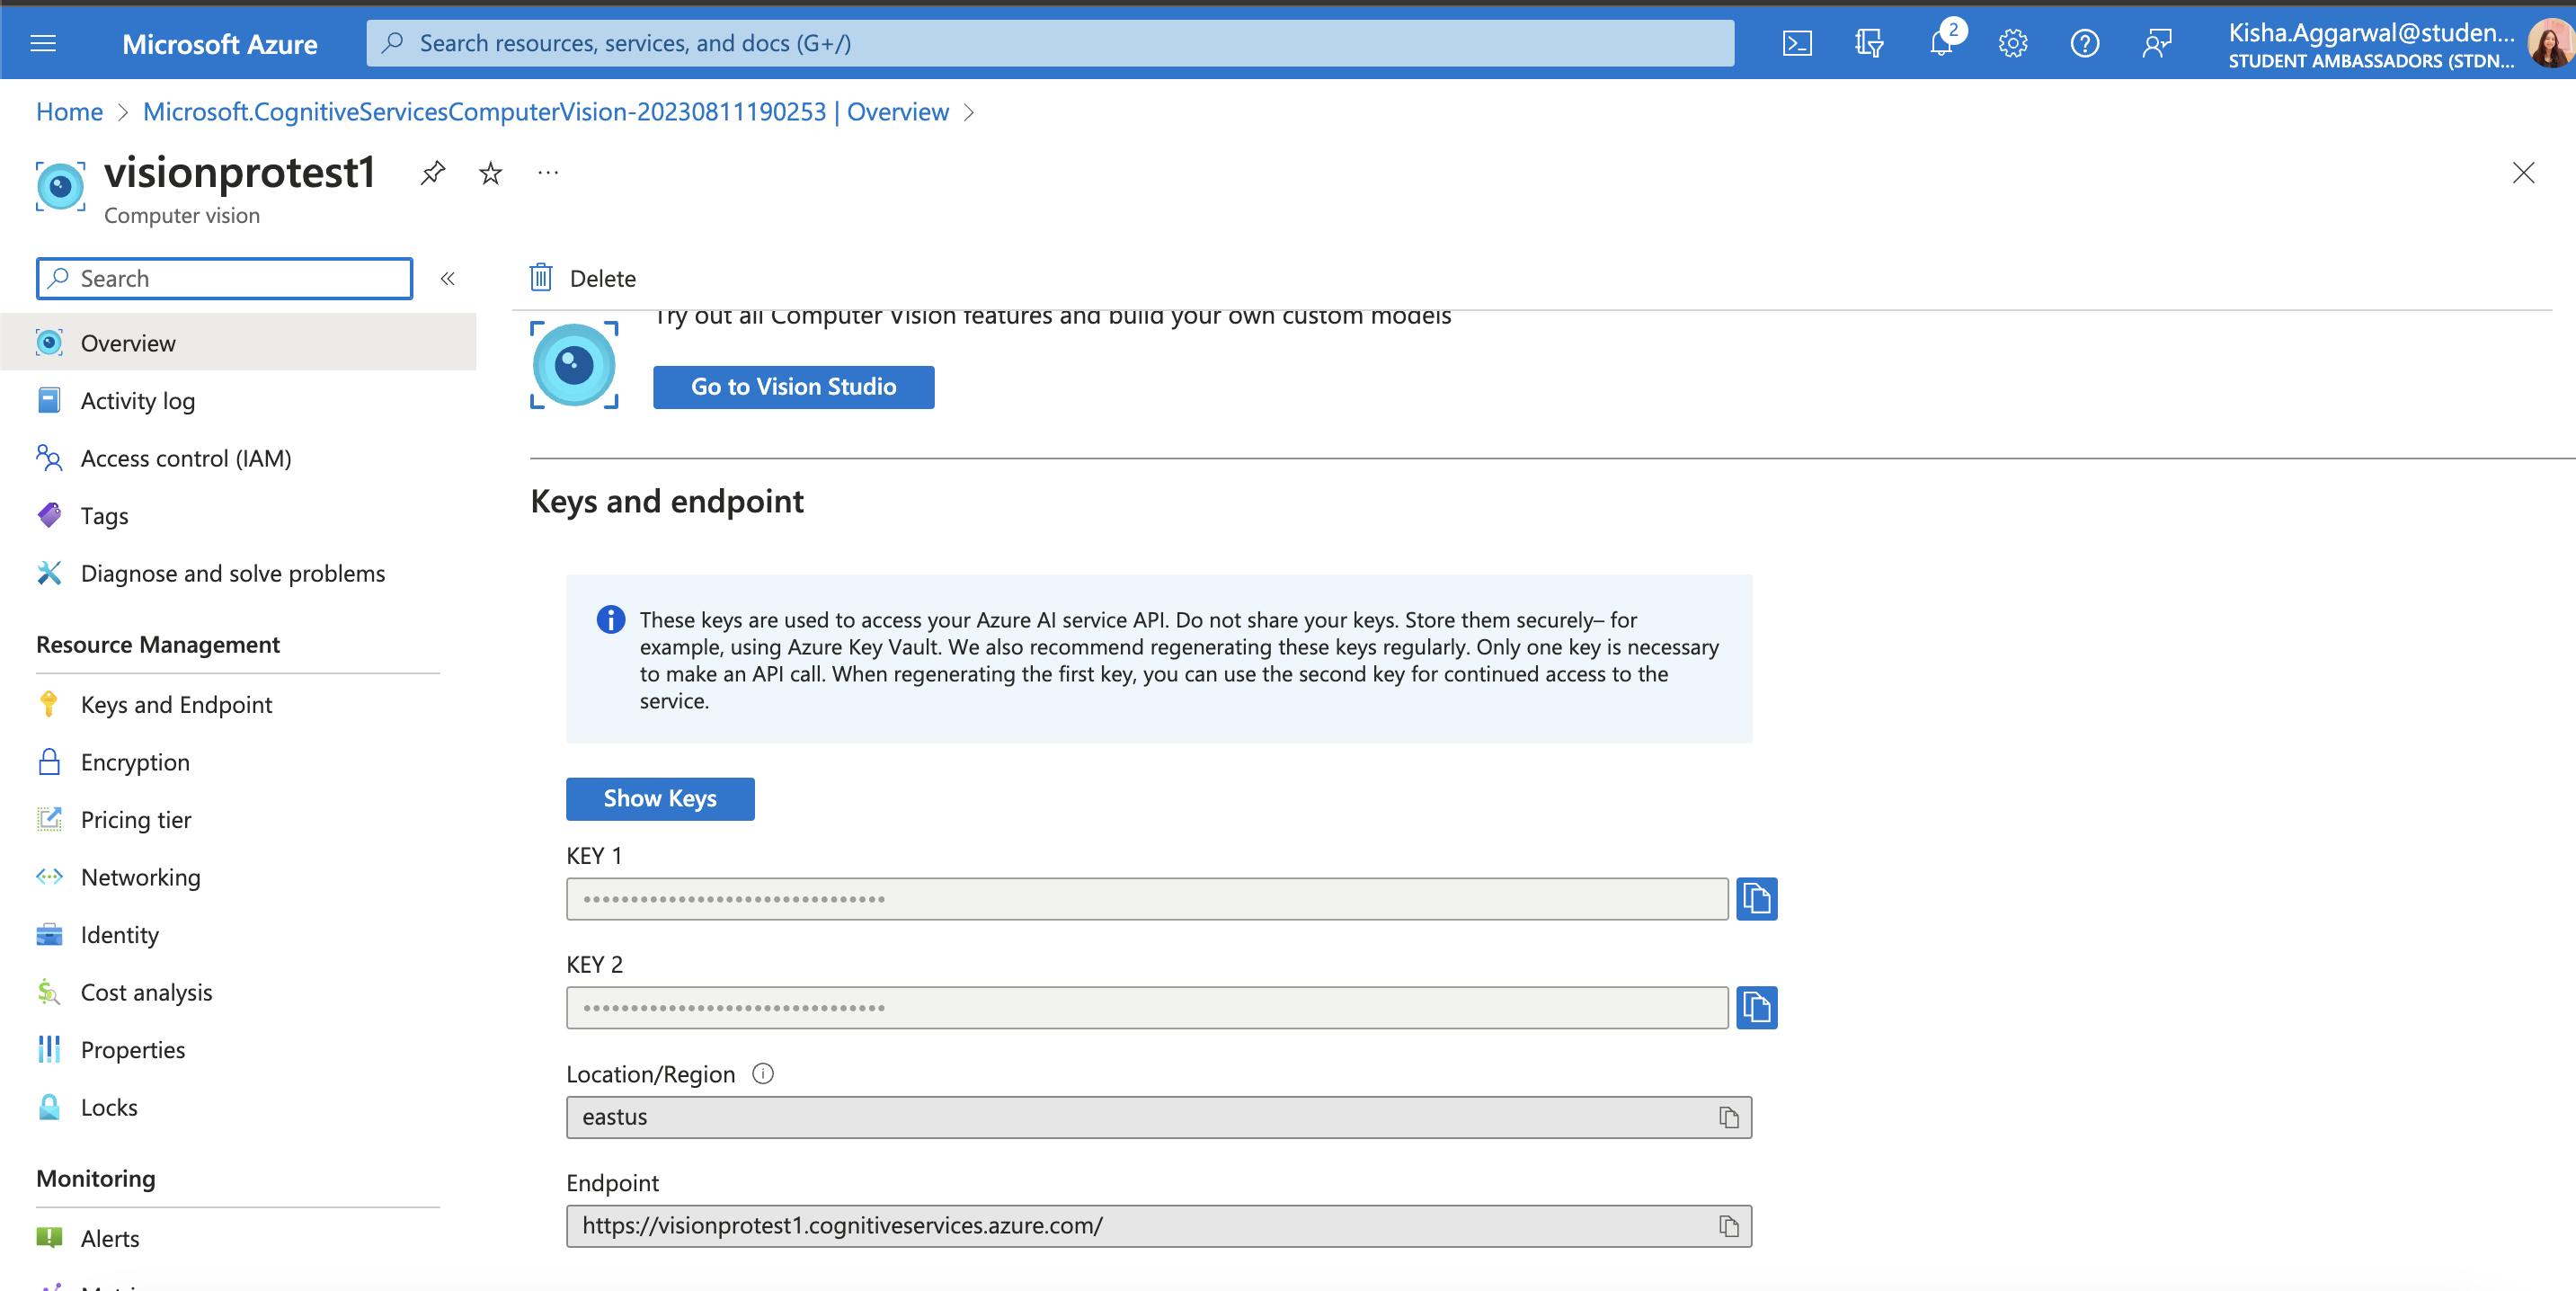
- Open Resources and Review the overview. Save KEY 1 and Endpoint for further use.
Under networking Enable All networks
Review Vision Studio, Although its not being used for this particular article
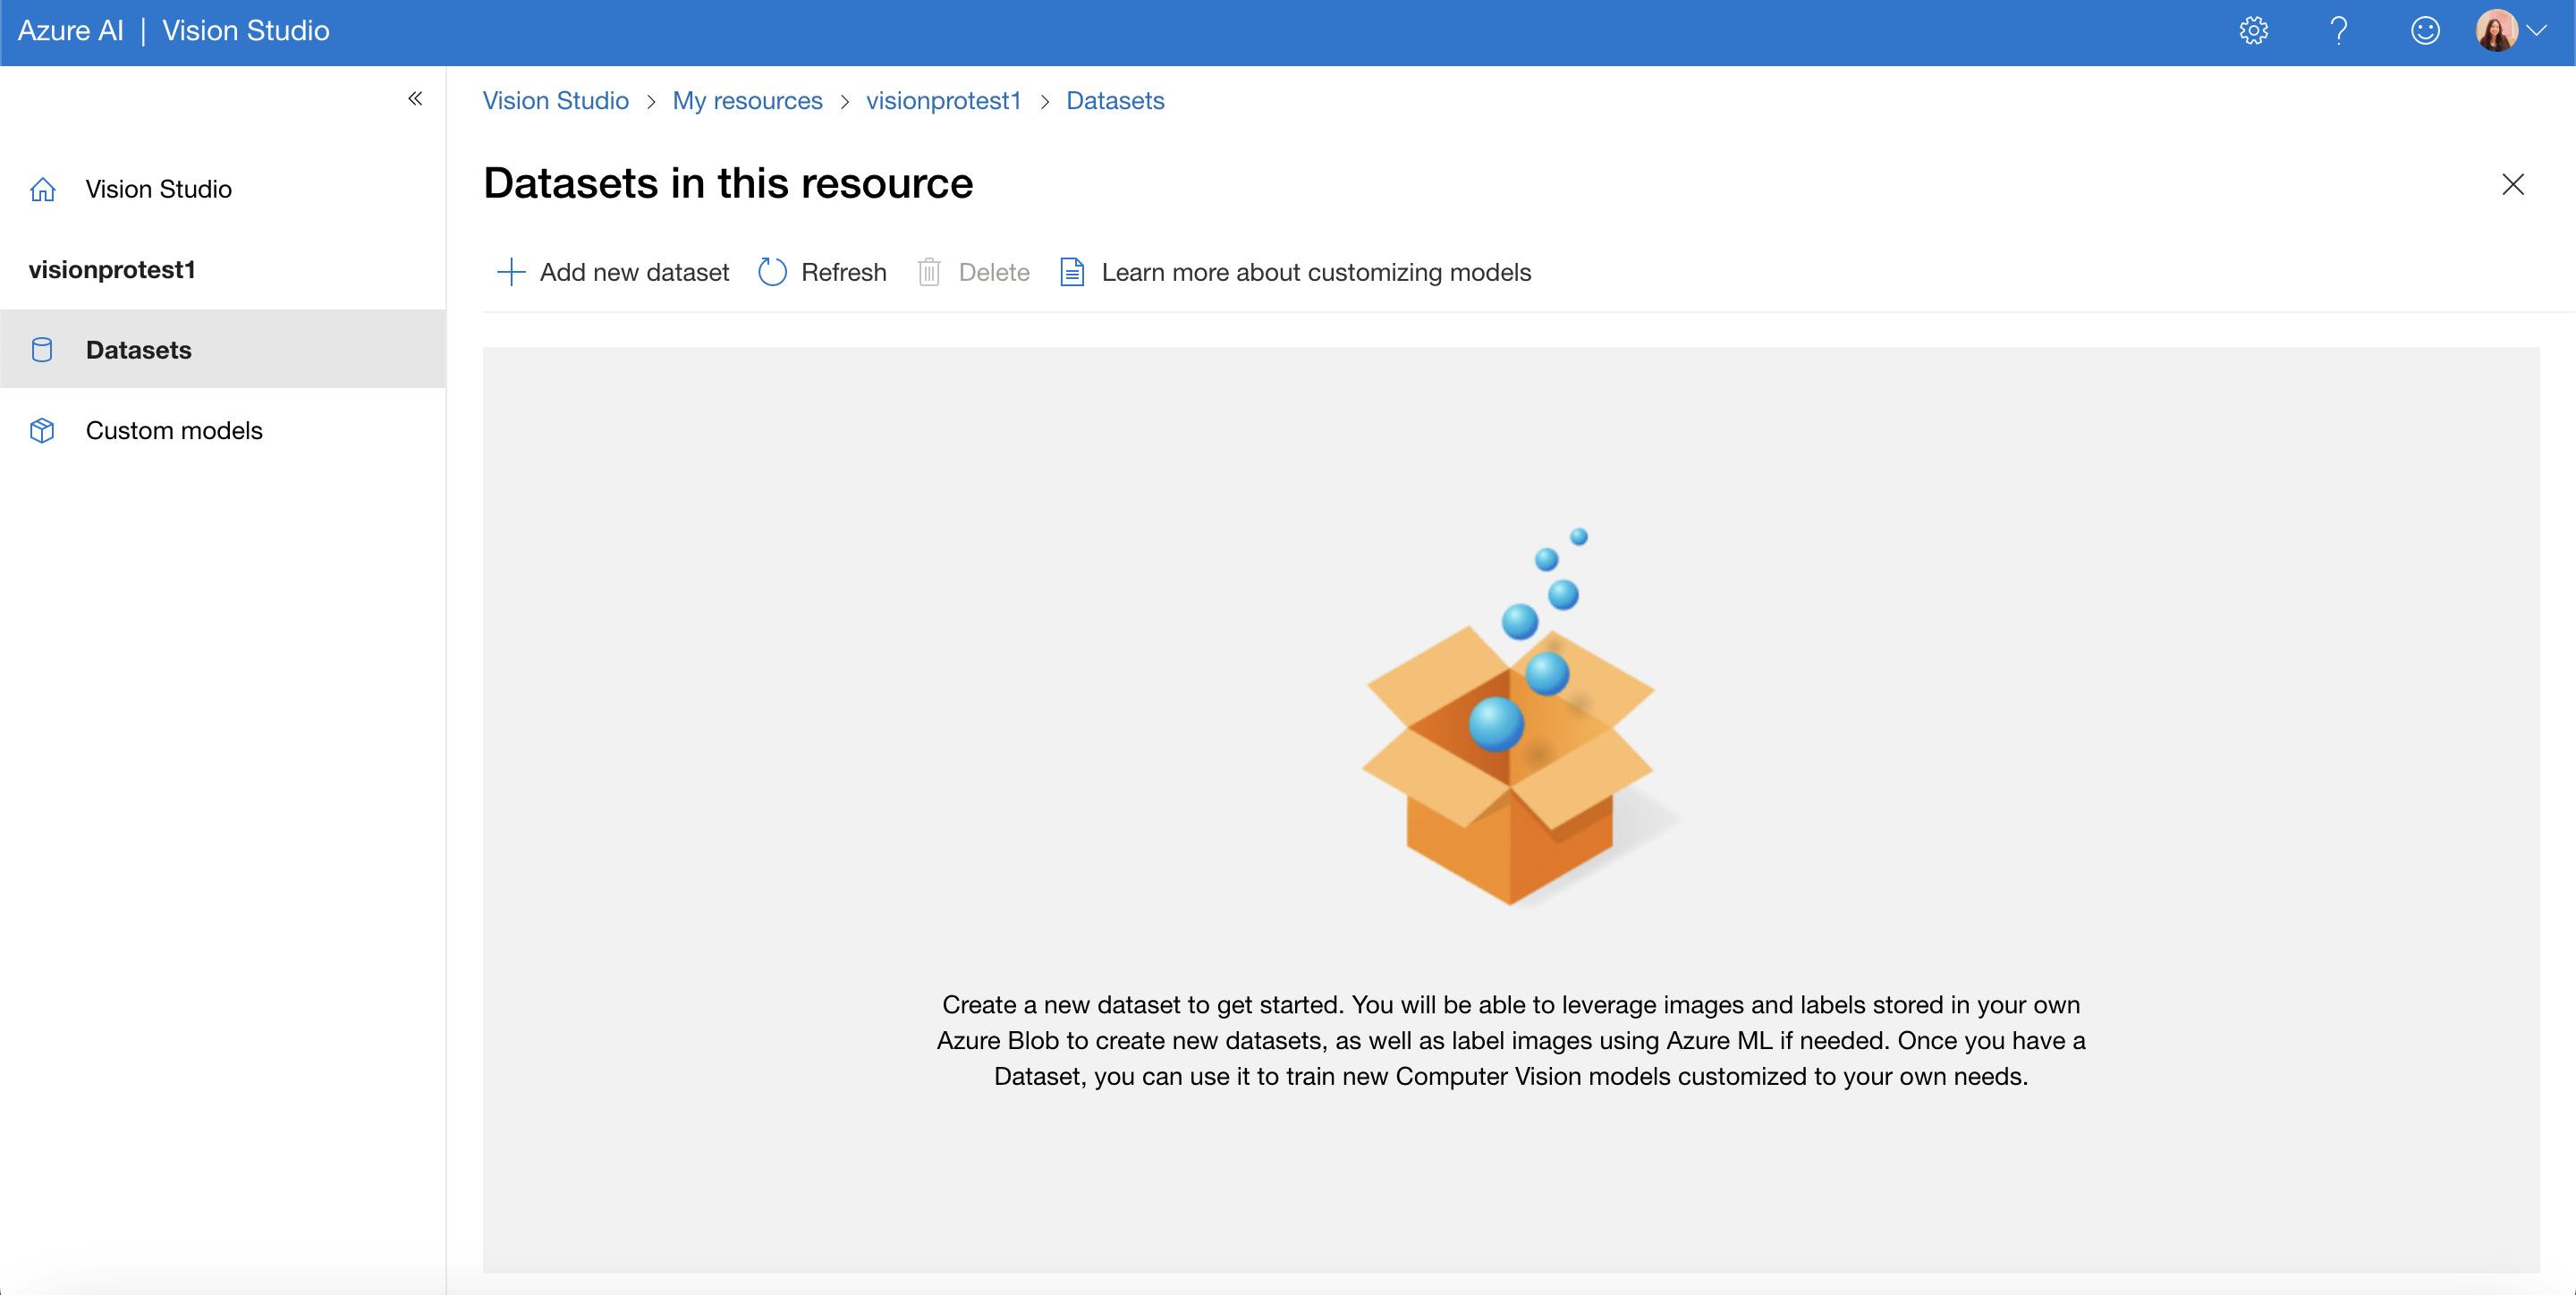
Custom DataSets and Models can be added here.
Step 2 - Installing Libraries
python3 -m venv venvsource venv/bin/activatepip install pip install azure-cognitiveservices-vision-computervision
In your Local PC ensure, you are using OpenSSL >=1.1.0
openssl versionbrew install openssl
Step 3 - Code
Libraries & Client
import os
from azure.cognitiveservices.vision.computervision import ComputerVisionClient
from azure.cognitiveservices.vision.computervision.models import VisualFeatureTypes
from msrest.authentication import CognitiveServicesCredentials
import requests
import cv2
import numpy as np
import matplotlib.pyplot as plt
import io


key = <KEY 1>
endpoint = "https://<server_name>.cognitiveservices.azure.com/"

# Create a Computer Vision client
credentials = CognitiveServicesCredentials(key)
client = ComputerVisionClient(endpoint, credentials)
Image Link
We are using a Creative Commons licensed Image
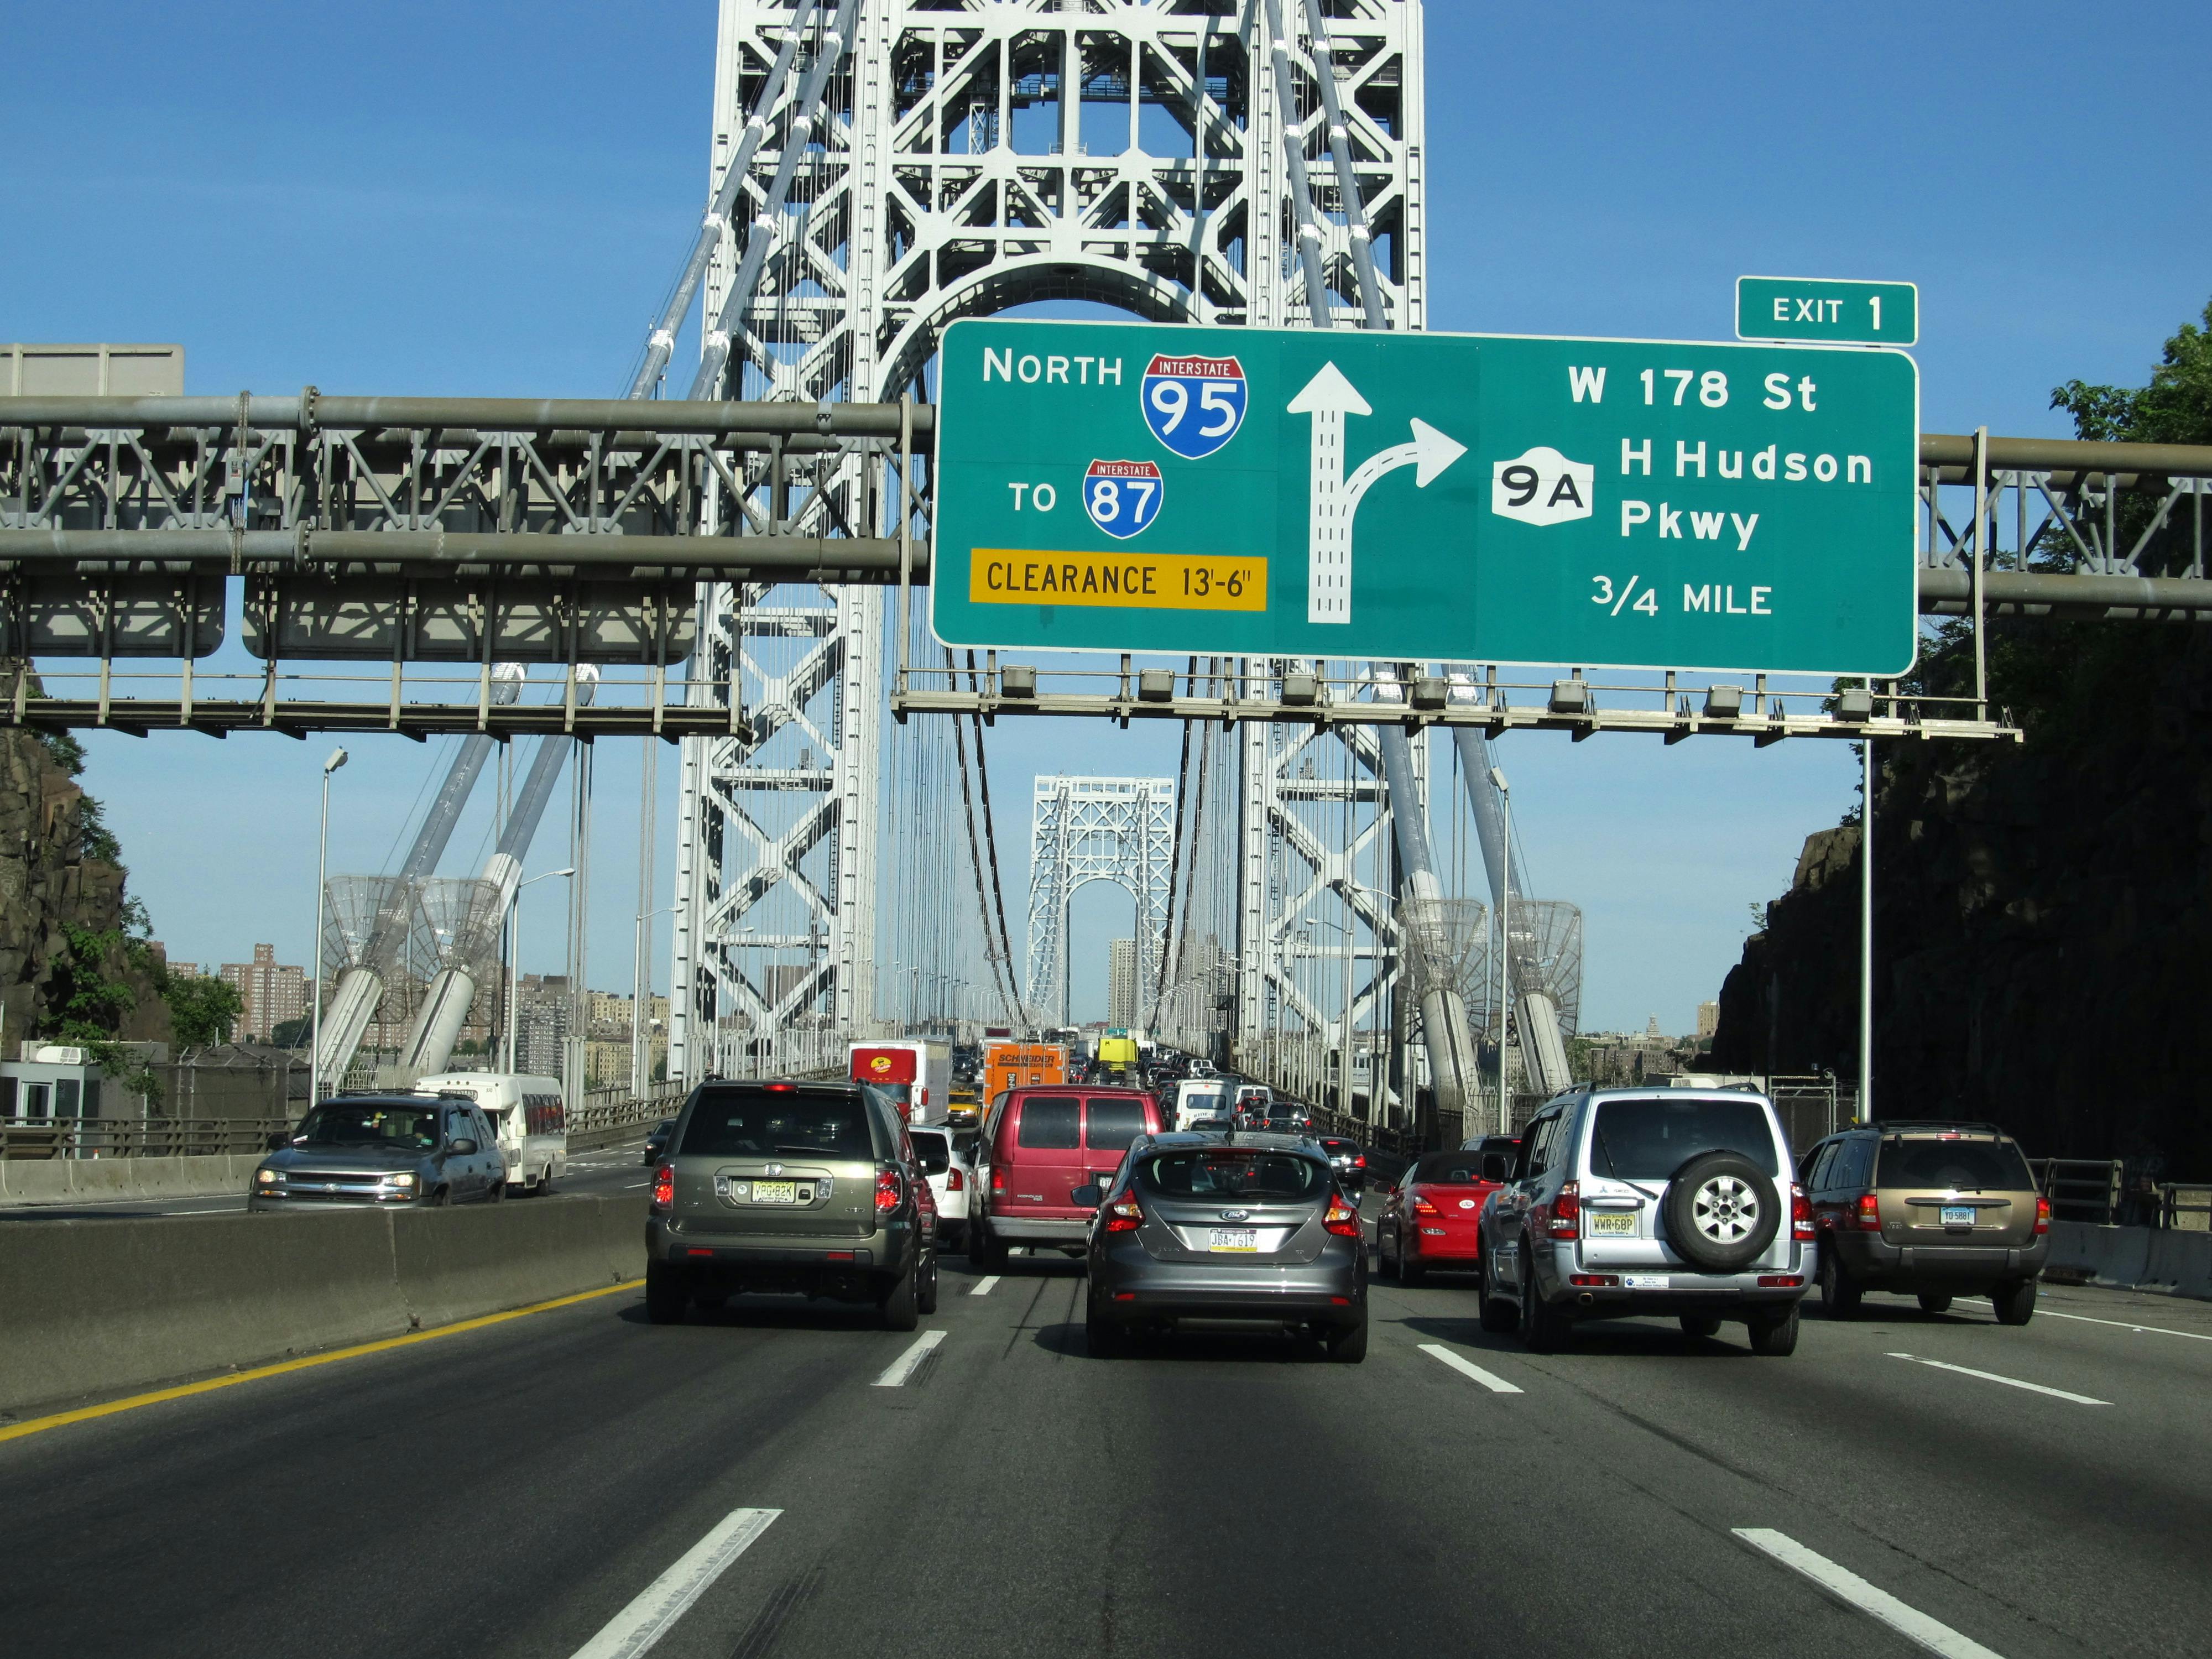
#Image
image_link = "https://upload.wikimedia.org/wikipedia/commons/5/51/Crossing_the_Hudson_River_on_the_George_Washington_Bridge_from_Fort_Lee%2C_New_Jersey_to_Manhattan%2C_New_York_%287237796950%29.jpg"
Functions
Analyse Image
 # Analyse Image
 features = [VisualFeatureTypes.tags, VisualFeatureTypes.description]
 analysis = client.analyze_image(image_link, visual_features=features)
 # Print out the results
 print("Tags:")
 for tag in analysis.tags:
     print(tag.name, tag.confidence)

 print("\nDescription:")
 print(analysis.description.captions[0].text)
 print("============================================")
Output
 Tags:
 text 0.999910831451416
 outdoor 0.9962673783302307
 road 0.9954007863998413
 sky 0.9767497181892395
 vehicle 0.970876932144165
 land vehicle 0.9642893075942993
 infrastructure 0.9435274600982666
 freeway 0.9393666982650757
 vehicle registration plate 0.9338929653167725
 highway 0.9248238801956177
 street 0.9214962720870972
 lane 0.9157841205596924
 billboard 0.8976778984069824
 thoroughfare 0.8912621736526489
 traffic 0.8668385744094849
 asphalt 0.8635005950927734
 wheel 0.8605480194091797
 sign 0.8491865992546082
 traffic sign 0.8463172912597656
 overpass 0.8442752361297607
 car 0.8412759304046631
 expressway 0.7439208626747131
 driving 0.649591863155365
 bridge 0.6195515394210815

 Description:
 a group of cars on a highway
 ============================================
features = [VisualFeatureTypes.tags, VisualFeatureTypes.description]: In this line, a list namedfeaturesis created containing two elements:VisualFeatureTypes.tagsandVisualFeatureTypes.description. These represent the specific visual features you want to analyze in the image, which include identifying tags and generating a description.analysis = client.analyze_image(image_link, visual_features=features): This line of code invokes theanalyze_imagemethod of theclientobject, which is an instance of theComputerVisionClientclass. It sends a request to the Azure Computer Vision API to analyze the image at the specifiedimage_linkURL using the selected visual features from thefeatureslist. The result of this analysis is stored in theanalysisvariable.
Perform OCR on an image
 ocr_results = client.recognize_printed_text(image_link)

 # Print out the recognized text
 for region in ocr_results.regions:
     for line in region.lines:
         for word in line.words:
             print(word.text, end=' ')
         print()

 print("============================================")
Output
 10
 ii$JIJ'
 NORTH
 INTERSTATE
 INTERSTATE
 TO 87
 I CLEARANCE 13-6"
 EXIT 1
 W 178 St
 H Hudson
 Pkwy
 3/4 MILE
 ============================================
ocr_results = client.recognize_printed_text(image_link): This line of code invokes therecognize_printed_textmethod of theclientobject. It sends a request to the Azure Computer Vision API to perform Optical Character Recognition (OCR) on the image located at theimage_linkURL. Theocr_resultsvariable will store the results of the OCR analysis.Detect objects in an image & Show on Image
 detect_objects_results = client.detect_objects(image_link)
 for object in detect_objects_results.objects:
     print(object.object_property)
     print(object.rectangle)
     print(object.confidence)

 #SHOW ON IMAGE
 try:
     # Get the image from the URL
     headers = {
         'User-Agent': 'Mozilla/5.0 (Windows NT 10.0; Win64; x64) AppleWebKit/537.36 (KHTML, like Gecko) Chrome/58.0.3029.110 Safari/537.3'}
     response = requests.get(image_link, headers=headers)
     if response.status_code == 200:
         image_data = response.content

         # Convert image data to a NumPy array
         image_np = np.frombuffer(image_data, np.uint8)

         # Decode the image using OpenCV
         image_cv2 = cv2.imdecode(image_np, cv2.IMREAD_COLOR)

         # Draw rectangles and labels
         for object in detect_objects_results.objects:
             # Get rectangle
             rect = object.rectangle
             # Draw rectangle
             cv2.rectangle(image_cv2, (rect.x, rect.y), (rect.x + rect.w, rect.y + rect.h), color=(255, 0, 0),
                           thickness=10)
             # Draw label
             cv2.putText(image_cv2, object.object_property, (rect.x, rect.y - 20), cv2.FONT_HERSHEY_PLAIN, 5,
                         (255, 0, 0), 5)

         # Show the image
         print("Image data successfully processed.")
         print("Image data type:", image_cv2.dtype)
         plt.imshow(image_cv2)
         plt.show()
     else:
         print("Failed to retrieve image data. HTTP status code:", response.status_code)
 except Exception as e:
     print("An error occurred:", e)
Output
 car
 {'additional_properties': {}, 'x': 483, 'y': 1970, 'w': 448, 'h': 208}
 0.573
 car
 {'additional_properties': {}, 'x': 1191, 'y': 1990, 'w': 417, 'h': 359}
 0.571
 car
 {'additional_properties': {}, 'x': 1762, 'y': 1979, 'w': 330, 'h': 310}
 0.61
 car
 {'additional_properties': {}, 'x': 3288, 'y': 2082, 'w': 420, 'h': 292}
 0.573
 car
 {'additional_properties': {}, 'x': 2653, 'y': 1969, 'w': 641, 'h': 488}
 0.62
 Image data successfully processed.
 Image data type: uint8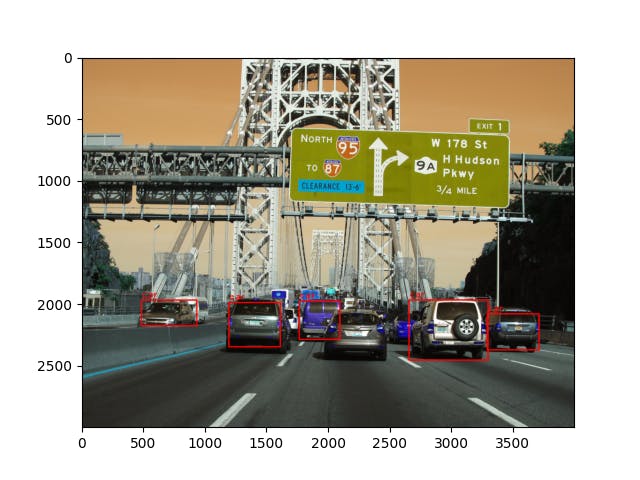
detect_objects_results = client.detect_objects(image_link): This line of code invokes thedetect_objectsmethod of theclientobject. It sends a request to the Azure Computer Vision API to detect objects in the image located at theimage_linkURL. Thedetect_objects_resultsvariable will store the results of the object detection analysis.
Additional Analysis Functions
Detect Domain-specific Content
 # Detect domain-specific content in an image
 detect_domain_results = client.analyze_image_by_domain("landmarks", image_link)
 for landmark in detect_domain_results.result["landmarks"]:
     print(landmark["name"], landmark["confidence"])
Detect the type of image
 # Detect the type of image
 detect_type_results = client.analyze_image(image_link, visual_features=[VisualFeatureTypes.image_type])
 print("Clip art type:", detect_type_results.image_type.clip_art_type)
 print("Line drawing type:", detect_type_results.image_type.line_drawing_type)
Detect Landmarks
 # Detect landmarks in an image
 detect_landmarks_results = client.analyze_image_by_domain("landmarks", image_link)
 for landmark in detect_landmarks_results.result["landmarks"]:
     print(landmark["name"], landmark["confidence"])
Detect Celebrities
 detect_celebrities_results = client.analyze_image_by_domain("celebrities", image_link)
 for celebrity in detect_celebrities_results.result["celebrities"]:
     print(celebrity["name"], celebrity["confidence"])
Generate Thumbnails
 # Generate a thumbnail image
 generate_thumbnail_results = client.generate_thumbnail(100, 100, image_link)
 # Save the thumbnail
 with open("thumbnail.png", "wb") as thumbnail_file:
     for chunk in generate_thumbnail_results:
         thumbnail_file.write(chunk)
Conclusion
In conclusion, this article delved into the impressive capabilities of the Azure Computer Vision API in tandem with Python's Azure SDK. By harnessing the power of Azure's advanced image analysis services, we embarked on a journey through a multitude of tasks, ranging from image tagging and description generation to optical character recognition (OCR) and object detection. Through this comprehensive guide, developers and image analysis enthusiasts have gained a deeper understanding of how to extract valuable insights from images, enabling them to make informed decisions across various domains. The Azure Computer Vision API, with its intuitive interface and robust capabilities, emerges as an indispensable resource for unlocking hidden information within images and shaping data-driven strategies across a myriad of industries. Whether it's automating content tagging, enhancing search functionality, or enabling smart image-based applications, the Azure Computer Vision API is poised to elevate the way we interact with and understand visual data.